The Wash
A small normal laundromat at first, but the further you go, the more suspicious the place becomes.
Call of Duty: Black Ops III - Zombies map
Steam workshop: Here
Responsibilities:
4+ perks and mystery box locations
Pack-A-Punch
Control flow and pacing with points and available weapons
Have good composition/framing shots set up
Playtest and iterate on the design
Design a convincing and unique setting that isn’t anywhere else on the steam workshop.
Script lighting to turn on after power.
Incorporate classic zombies feel and style
Create familiar spaces that could be used for training and others that are dangerous

Pre-Planning
The goal of this level was to design a classic black ops/world at war zombies experience within 2 weeks. I never used this mod kit before so I started off by seeing what I was capable of by reading documentation and watching tutorials.
Then, I established a reference board and theme. Once I decided where the setting was, I built the digital layout.
I went through a couple of iterations where I resized the map and spread out the zombie spawns. I found a flaw in the design where the players were able to take the teleporter to the pack-a-punch machine without buying the doors. I decided to make the teleporter only 1 way, which would create a nice loop in the map.

Level Building
I started by building one room at a time. Each door needed its own scripting so I built rooms and coded alongside it. I made sure there were gameplay standards for scale on all the doors, windows, and walls. Then I made sure there was enough space for the player to run around with the zombies.
Setting up each room 1 at a time allowed for easier zone scripting, helped the zombie balance make more sense, and enabled scale-up based on what players have available.
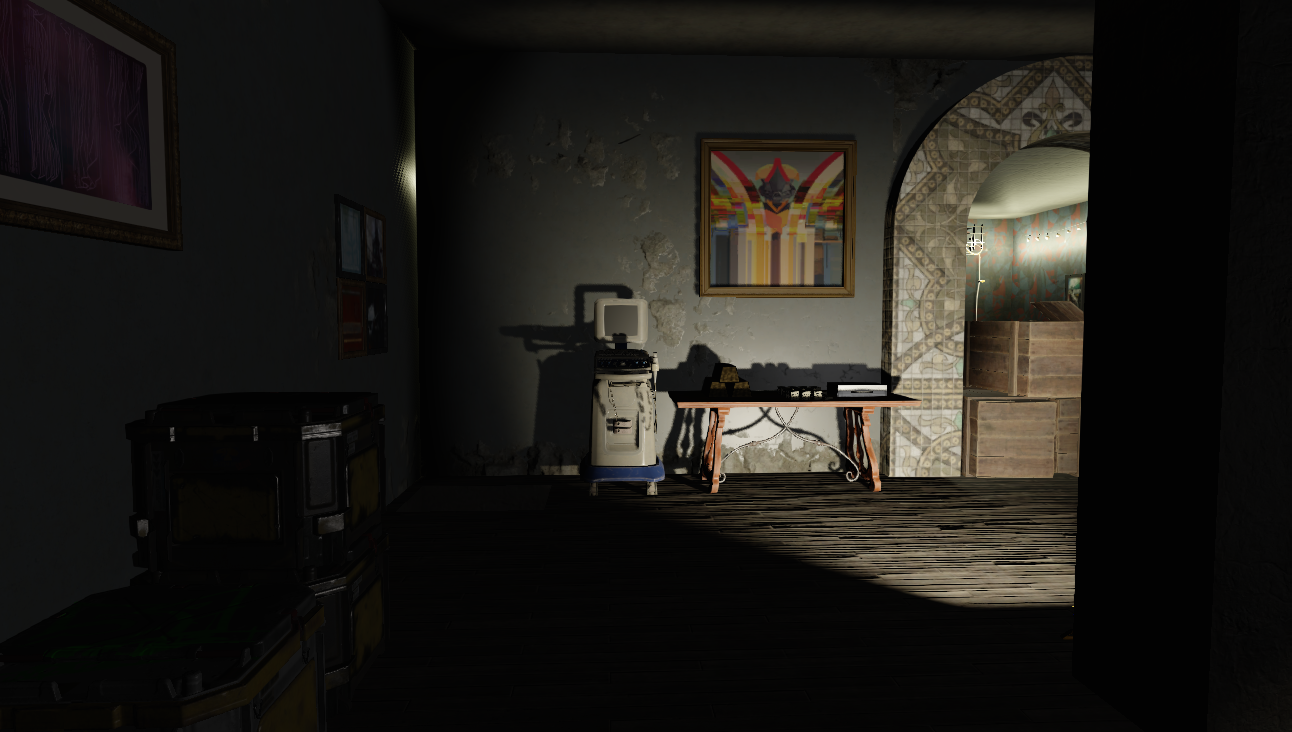
I wanted to make sure players could easily see where the power was (pictured on the left). After that, I created the classic Call of Duty camp spot where you have juggernaut and the mystery box available. I set up 1 window and a funnel for zombies. Once the box left, players needed to move into the next room. In that room, it was designed to be hard on purpose so that players would mess up their camp spot but be able to clearly see the Pack-a-Punch machine. Then, when inside the pack room, they could easily teleport out.

Lighting & Optimization
Collision
Before I started lighting, I did a collision pass on all the objects. I didn’t want the player phasing through any objects or getting stuck in certain places. I tried to ensure there was flow and a clear playable area for the players and enough space for the zombies. Also, I made sure all zones were spaced appropriately so that players didn't die when entering new rooms.
I did notice that the stairs were a bit bumpy, even though I built them to gameplay standards. To fix this, I created a brush that was barely over the stairs and formed a ramp that eliminated the bumpiness.
Optimization
Keeping the map optimized was actually pretty easy since I was building a smaller map. I made sure to “auto caulk” all the touching edges of the brushes, and I made sure to apply a caulk texture to all the walls players couldn’t see. I also cut the brushes so that no walls were overlapping. I tried to keep models from clipping as well and reused as many models as I could so the map didn’t need to load too many textures. I didn’t use more than a couple of effects either so I was in no danger of dropping frames and It worked well on other computers just fine.
Lighting
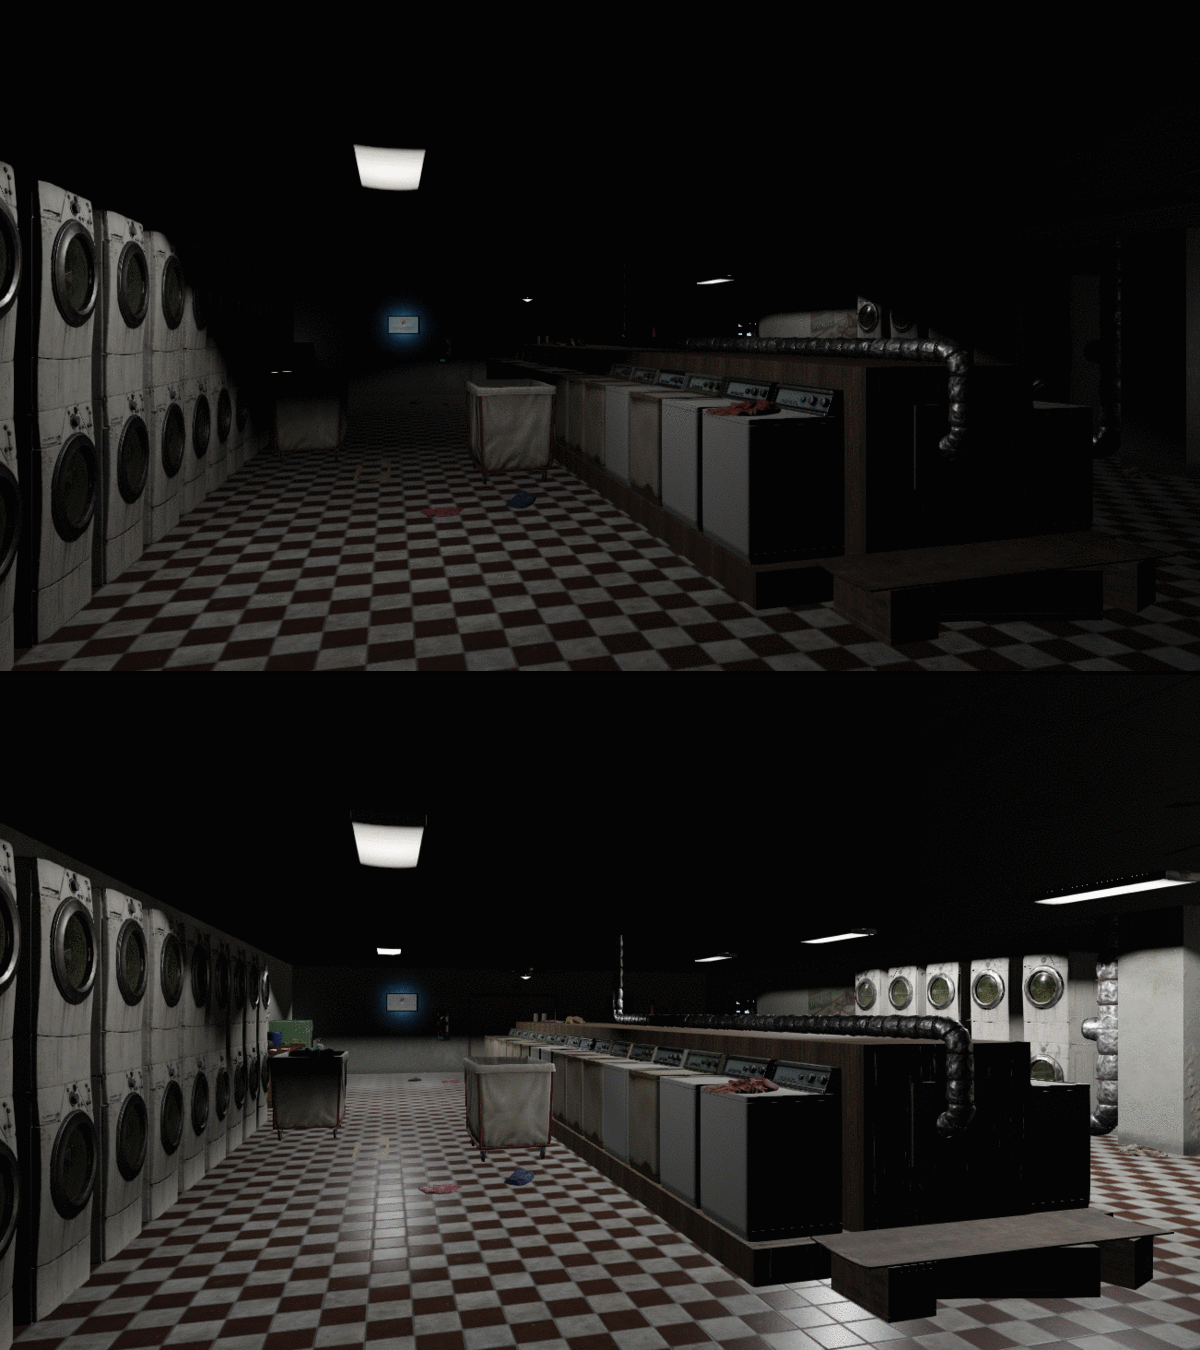
For the lighting, I started with my skybox. I needed to get the skybox right so that the opening room felt good. I decided on night lighting since the sunlight didn’t give the “zombies” feel. The dark lighting with a bright moon allowed me to have a really eerie mood and tone.
My favorite part was scripting more lights that turned on after the power switch was used. This gave the laundromat a realistic effect.
For the final pack-a-punch room, I wanted it to be bright so players would be excited they made it to this special and final room. I used neon lights and bright colors to help increase player engagement.

Play Testing & Publishing
Local Playtesting:
I learned a lot of things while playtesting my map. I had about 30 people playtest locally. Most of them played solo games, but I was able to get split-screen working and have some people play co-op. I realized there were areas that zombies could get stuck in certain circumstances. I made hallways bigger and moved meshes so the zombie paths would work. I also adjusted the prices of doors. It was taking players too long to get to the power, and it was too easy to get to the pack-a-punch. I wanted players to get going faster but not too fast where they could be overpowered too early. It was fun playtesting in real life to see who could break the next person’s record, and friendly competitions spawned on their own. I also noticed players were missing the teleporter in the pack-a-punch room so I made arrows pointing to it and added an exit sign. This seemed to be subtle enough to push players out of the room and into safety when they teleported back to spawn.
Publishing Process:
Once the in-person playtesting was done and the level was a little more polished, I published my map on the community workshop on steam. This process was fairly easy. I needed to remove some .xpak files from the build, and then change my build settings to work with all languages. Then I hit the publish button and it was uploaded to the workshop. From there, I wrote a description of the map, added its features, tagged it appropriately, added pictures, and credited the appropriate people. Certain community members worked on the prefab models and animations I used in my maps and I made sure anyone who made them was credited.
Post-Publishing:
After a couple of hours of being on the steam workshop, 50 people had already checked it out and one guy even commented and posted a playthrough of it. I posted my link to the Black Ops modding community on discord to see what other mapmakers thought. Less than 72 hours after release, my mod kit level received 324 visitors with 74 subscribers. People messaged me saying it was very solid and had everything a zombies map needed. Some said I did a great job for the amount of time I put into it and for it being my first map in Radiant. This was such a cool experience and I loved how active the community was. This small interaction with a level I made really made me excited to get started in the gaming industry.

Take Aways
Things I learned:
Radiant is a very nice platform. I was able to do a lot of things Unreal can’t do. Obviously, I think Unreal Engine might be better for moving around and placing objects, but I would like it if it had some of the features Radiant has. It was super cool to be able to place brushes down and cut them. Then you could apply different textures to the different faces. It was super easy to filter the textures to what I needed and it was very nice to find the correct models. I definitely could tell this was created by a bigger company since everything I needed was right in front of me or readily available with documentation or tutorials.
The Cod Tools Maya plug-in was also very helpful for transporting any meshes I needed straight into the mod kit.
Scope:
Since this was my first time using a mod kit I set my scope pretty small and manageable. I didn’t want to add in too much stuff I wouldn’t be able to get done in the two-week time frame. This allowed me to make sure I got everything done correctly and even left me some space to do texture blending and adding in an Easter egg song.
Treyarch’s gameplay standards:
It was very exciting to see the documentation for measurements on windows, walls, doors, stairs, etc. I was able to create my space appropriately as the devs and artists intended. All the models were appropriately sized and textured as well. This was a huge time saver since my personal Unreal projects were always stalled by insufficient action blocks and kitbashing where I would then have to rescale things.
Things I’d do differently:
More outside areas:
My original design is spent mostly indoors and this generally took more time than incorporating outside spaces. If it was outdoors in some areas, the lighting would already be done and there would be less need for measurements and proper scaling compared to building a room. I tried to make sure there were lots of windows so the lighting would fill the room and blur out some of the detailed texturing. However, more outdoor areas would give the illusion to players that space was bigger instead of always being in an enclosed interior space.
Things I’d Like to do if I had 6 more months:
Spending more time with FXs would be cool and beneficial. I added a couple of FXs but I ran out of time to really detail them and mess with their settings. The FX outliner and FX properties panel can have a lot of cool animations and sounds. It would really enhance my map to bring more of that into it. I think I would also spend more time on the sound design. The devs gave me plenty of stuff to work with and I think sounds and music enhance every game. I did change some of the weapon sounds and added in my own Easter egg song. With more time, I could even add some spatial sounds tied to the FXs.
My map is on the steam community workshop market so as more playtesting gets done from the community I can incorporate their feedback for future designs. It was such a cool experience putting content out there that is relevant and a part of one of my favorite genres and game modes.


